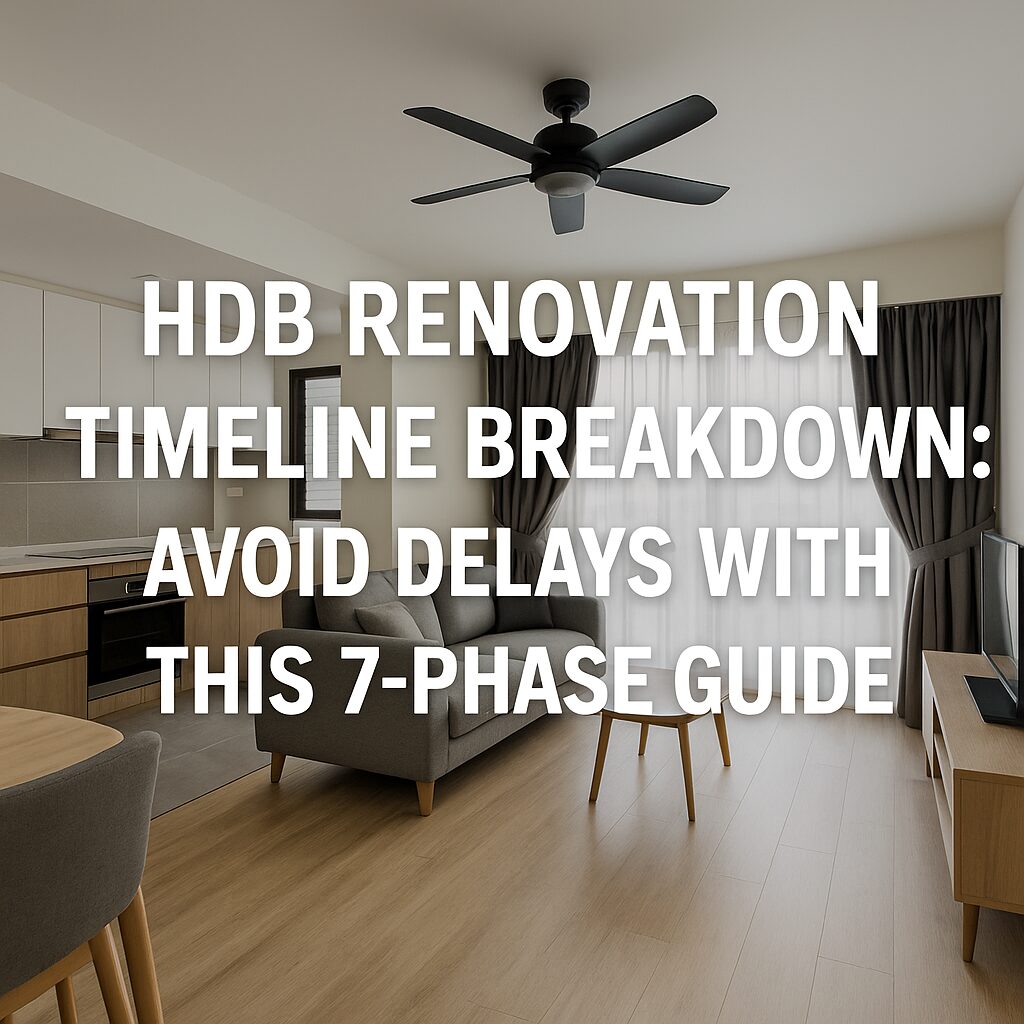
Table of Contents


Objective
To remove old finishes, fixtures, and walls (where permitted) to prepare a clean slate for your renovation. This is the most disruptive and noisy part of the project.
What Happens
Site Protection & Preparation
Corridors and lift interiors are protected with cardboard or corflute sheets, especially in HDB estates with narrow lift lobbies.
Neighbors (especially units next to or below you) should be informed at least 1–2 days in advance.
Hacking of Existing Tiles and Fixtures
Flooring and wall tiles in kitchen and bathrooms are hacked if not overlaying.
Old built-in cabinets, vanity units, or false ceilings are dismantled.
Any permitted wall hacking (e.g., kitchen wall for open concept) is carried out during this time.
Waste Removal & Debris Disposal
Waste is collected and removed daily, typically via industrial-grade canvas bags or metal bins.
Contractors must engage licensed disposal services to clear debris according to NEA regulations.
Structural Checks
Post-hacking, the ID or contractor may discover hidden defects like uneven cement screed, poor waterproofing, or corroded water pipes that must be fixed before proceeding.
HDB Regulations
| Rule | Description |
|---|---|
| Noise Restrictions | Hacking only allowed Mon–Sat, 9am–5pm. No works on Sundays or public holidays. |
| 3-Day Hacking Rule | HDB mandates that noisy demolition works must be completed within 3 consecutive working days. |
| Permit Requirement | Any hacking of walls, flooring, or reconfiguration of toilets/kitchens must be approved by HDB. |
Important: Structural walls (indicated in bold lines on your HDB floor plan) cannot be hacked or tampered with. Doing so is a serious offence.
 Important: Structural walls (indicated in bold lines on your HDB floor plan) cannot be hacked or tampered with. Doing so is a serious offence.
Timeline Influencers
| Factor | Impact |
|---|---|
| Flat Type (BTO vs Resale) | Resale units often require more hacking due to existing fixtures and aged tiles. |
| Wall Types | Some walls (e.g., brick infill vs RC) take longer to hack. |
| Disposal Lift Access | Limited access or older HDB blocks with small lifts slow down debris removal. |
Must-Have Site Progress Checks
 Take photos before and after hacking. Inspect screed condition, pipe alignment, and any unexpected defects. Verify that protective boards are installed outside your unit.
Pro Tips for Homeowners
Overlay vs Hacking: If budget or time is tight, overlaying vinyl over existing tiles can save 3–5 days.
Resale Units: Request a condition check during your initial site visit to estimate the hacking load early.
HDB Upgrading Works: If your unit is undergoing HIP (Home Improvement Programme), sync with the timeline to avoid duplication of works.

Objective:
 Objective:
To install or replace floor and wall finishes in wet areas (kitchen, bathrooms, service yard), and to reroute or upgrade plumbing systems. This phase forms the backbone for waterproofing and long-term durability.
What Happens:
 What Happens:
Cement Screeding (If Needed)
Especially for BTO flats, flooring comes unfinished.
Cement screed is laid and leveled before tiles or vinyl flooring is installed.
Must cure for at least 3 days before tiling.
Wall & Floor Tiling
Floor tiles are laid in bathrooms, kitchen, service yard, and sometimes living areas.
Wall tiles are applied in wet zones like bathrooms and kitchen backsplashes.
For resale flats, old tile adhesives must be chipped off first.
Waterproofing Application
Required in all wet areas before floor tiles are laid.
HDB-approved waterproofing membranes are used; must cure 24–48 hours before proceeding.
Plumbing Works
Cold and hot water pipes are run for bathroom fixtures, heaters, and kitchen sinks.
Repositioning of water points, installation of concealed piping, and drainage lines.
If shifting of toilet bowl is needed, HDB must approve beforehand.
Who’s Involved:
 Who’s Involved:
Tilers
PUB-licensed plumbers
Site supervisor or project manager
Regulations and Best Practices:
 Regulations and Best Practices:
| Area | Requirement |
|---|---|
| Waterproofing | Must meet HDB’s minimum thickness and coverage for bathrooms. |
| Plumbing | Must be done by PUB-licensed plumber. All works must follow CP48 and HDB’s water services guidelines. |
| Floor Gradient | Bathrooms must slope towards floor traps to avoid water pooling. |
| Drywall Penetrations | Water pipe chases must be filled and sealed properly to prevent leakage into bedrooms. |
 Common Mistake: Poor waterproofing or rushed screed work can cause water seepage, resulting in costly hacking down the line.
 Timeline Influencers:
 Timeline Influencers:
| Factor | Delay Risk |
|---|---|
| Tile Arrival Delays | Imported or out-of-stock tiles may delay start. |
| Bathroom Redesign | Changes in layout (e.g., from 2 to 1 shower) may require re-routing pipes and traps. |
| Curing Time | Cement screed and waterproofing must dry completely before next step. |
Pro Tips for Homeowners:
 Pro Tips for Homeowners:
Choose In-Stock Tiles: Avoid 4–6 week delays from out-of-stock designs.
Don’t Rush Curing: Let screed and waterproofing cure properly—don’t push to tile too fast.
Ask for Test: Before tiling, ask your contractor to do a water ponding test to check waterproofing integrity.
Use Tile Trim Edges: For cleaner finishing around corners and edges (especially in HDB kitchens).
Value-Added Tip:
 Value-Added Tip:
In resale units, check whether the original HDB toilet was built pre-1990s. Older systems may need a full overhaul, including new discharge stacks and cast iron pipe replacements. This can extend the timeline and cost.

Objective:
To install all power, lighting, and air-conditioning infrastructure before carpentry and painting begin. This phase ensures your home is future-proof, safe, and efficient.
What Happens:
 What Happens:
Electrical Point Laying & Trunking
Power sockets, switches, and lighting points are installed based on your final lighting and appliance layout.
Trunking (PVC casing) is laid along walls and ceilings to conceal wiring unless concealed within false ceilings.
Circuit Rewiring (for Resale Flats)
Older HDB flats (built before 1994) usually require full rewiring to support modern power loads.
Separate circuits are set up for high-consumption appliances (e.g., oven, aircon, heater).
Lighting Installation Prep
Light point positions are marked.
Downlight casings or cut-outs (especially for false ceilings) are prepared.
Fan points, wall sconces, and feature lights are aligned based on your ID drawings.
Aircon Trunking & Piping
Aircon piping (copper and drainage) is laid from the outdoor condenser to each room’s fan coil unit.
Brackets for outdoor units are installed (typically on service yard ledge).
Trunking is boxed up for a neater appearance, especially in resale flats with limited ceiling height.
Data, TV & Smart Home Wiring
LAN cables, TV points, and smart switch wiring are laid.
Placement should consider router location, work-from-home setups, and concealed conduits.
Regulations & Compliance:
 Regulations & Compliance:
| Requirement | Description |
|---|---|
| LEW Required | All electrical works in HDB flats must be done by a Licensed Electrical Worker (LEW). |
| Load Declaration | Total electrical load must not exceed HDB-approved limits. |
| Aircon Installer | Aircon units must be installed by BCA-registered contractors with proper brackets and drainage routing. |
| No Drilling into Beams | Avoid routing trunking through load-bearing elements. It’s illegal and dangerous. |
 Important: Improper electrical work is one of the top causes of HDB renovation fire incidents.
 Common Pitfalls:
 Common Pitfalls:
| Mistake | Consequence |
|---|---|
| Underestimating socket counts | Leads to excessive use of extension cords |
| Overloaded circuits | Tripping or long-term fire hazards |
| Poor aircon drainage planning | Water leakage onto floor or wardrobe |
| Lighting too dim/harsh | Can affect mood, especially in windowless kitchens or walk-in wardrobes |
Pro Tips for Homeowners:
Plan lighting in layers: Use ambient, task, and accent lighting (e.g., warm cove lights + white kitchen lights).
Label all power points: Especially for built-in appliances (e.g., hob, oven, washer, heater).
Check for dual controls: Want your bedroom light switch by the bed too? Plan early.
Keep ceiling height in mind: False ceilings with recessed lights can eat into your headroom—especially in HDB units under 2.6m ceiling height.
Value Add Tip:
 Value Add Tip:
If you’re considering solar panels or EV charger installation in the future (for landed or ECs), ask your LEW to install spare conduit runs or dedicated DB spaces now. It’s cheaper to future-proof than to rework later.

Objective
To custom-build all fixed furniture like wardrobes, kitchen cabinets, and feature walls off-site, ensuring a perfect fit and smooth installation once your home is ready.
What Happens
On-Site Measurement
After tiling and electrical trunking are done, your carpentry contractor will visit to take exact measurements of each area—down to the millimetre.
Accurate measurement is key. Any miscalculation can cause gaps, misalignment, or redo.
Material & Laminate Finalisation
You’ll choose laminate finishes (wood grain, matte, gloss), countertop surfaces (e.g., quartz, KompacPlus), internal mechanisms (soft-close hinges, pull-out trays).
Final selections are sent to the factory for fabrication.
Off-Site Fabrication
Carcasses (cabinet bodies) and doors are constructed in the workshop.
Cut-outs for hobs, sinks, and appliances are made precisely according to site dimensions.
Most factories in Singapore or JB take 10–15 working days for production.
Pre-Installation Checks
Once ready, carpentry items are transported to site and dry-fitted before being secured.
Built-ins are aligned with electrical points, lighting fixtures, and plumbing outlets.
Silicone sealing is applied at the bottom edges of kitchen cabinets and bathroom vanities to prevent moisture seepage.
Typical Built-in Carpentry Items:
 Typical Built-in Carpentry Items:
| Area | Built-In Furniture |
|---|---|
| Kitchen | Cabinets, hood/hob cut-out, countertop, built-in oven/microwave |
| Bedroom | Wardrobes, dresser units, study tables |
| Living Room | TV console, display shelves, feature wall |
| Bathroom | Vanity cabinets, mirror cabinets |
| Entryway | Shoe cabinets, entry bench with storage |
Planning Considerations:
 Planning Considerations:
| Decision | Impact |
|---|---|
| Hinge type (standard vs Blum) | Affects smoothness & durability |
| Laminate grade | Higher-end ones resist heat, moisture, fingerprints |
| Cabinet depth | Must accommodate appliances properly |
| Ventilation slots | Required for enclosed appliances (fridges, ovens) |
Pro Tips for Homeowners:
Soft-close everything: Saves your sanity (and cabinets) long-term.
Plan wire routing: Hide messy cables inside compartments or pre-drill holes for plug-throughs.
Request extra power points: Especially inside wardrobes (for Dyson/charging), vanity areas, or TV consoles.
Use internal organizers: Pull-out baskets, lazy susans, hidden drawers add big functionality with minimal cost increase.
Avoid These Mistakes:
| Mistake | Consequence |
|---|---|
| Confirming laminate too late | Delays factory production |
| Assuming factory measurements | On-site differences can cause misfit |
| Skipping waterproof bottom panels | Water damage in wet zones |
| Not checking appliance cut-out size | Hob, sink or microwave may not fit |
Value Add Tip:
If you’re tight on time, ask if modular carpentry systems are an option. Some IDs use standard-sized cabinets that can be delivered and installed much faster than full custom jobs.

Objective:
To refresh and finalise your interior surfaces, install small accessories, and correct any minor damages or imperfections before the final cleaning.
What Happens:
Wall & Ceiling Painting
Interior walls and ceilings are primed and painted—usually in 2–3 coats for even coverage.
Ceilings are usually painted white to reflect light, while walls may follow your chosen colour palette.
Doors and door frames (if timber) may be stained, varnished or painted, depending on design.
Feature Wall Treatments (Optional)
If you opted for limewash, textured paint, or wall panels, this is the stage where those are applied.
Accent walls, murals, or decals can also be added now.
Installation of Fixtures
Wall-hung accessories such as:
Towel racks
Mirrors
Toilet paper holders
Curtains and blinds (if not part of separate vendor)
Final connection of plumbing items (e.g., taps, shower mixers, water heater).
Touch-Ups
Contractors patch up scratches, paint chips, or minor damages from earlier phases.
Silicone sealant is reapplied where necessary around sinks, tiles, or countertops.
Popular Paint Choices in Singapore:
 Popular Paint Choices in Singapore:
| Paint Brand | Features |
|---|---|
| Nippon Paint Odour-less EasyWash | Low VOC, easy to clean, safe for kids |
| Dulux Wash & Wear | Anti-bacterial, good for high-touch zones |
| Gush Paint | Air-purifying, eco-conscious, suitable for asthma-sensitive homes |
 Low-VOC (Volatile Organic Compounds) paint reduces chemical smells and is safer for babies, elderly, or people with allergies.
Timeline Influencers:
 Timeline Influencers:
| Factor | Impact |
|---|---|
| Number of colours | More colours = more masking and switching time |
| Wall condition | Resale units may need skim coat or patching before painting |
| Type of finish | Matte, eggshell, satin each require different prep and drying times |
| Humidity | Rainy weather = longer drying time, especially with water-based paints |
Pro Tips for Homeowners:
Choose neutral base tones: Whites, greys and beiges allow furniture and decor to pop, and are easier to resell.
Test patches first: Always do a 1m x 1m swatch test on-site. Colours look different under actual lighting.
Opt for washable finishes: Great for high-traffic areas or if you have young kids.
Masking matters: Ask your contractor to tape up sockets, trims, and skirtings for sharp paint lines.
Fixtures Checklist:
 Fixtures Checklist:
| Room | Fixtures |
|---|---|
| Bathroom | Towel rail, toilet paper holder, mirror, heater switch |
| Kitchen | Dish rack, utensil holders, backsplash sealing |
| Bedroom | Curtain rods, wall-mounted lamps, study lights |
| Living Room | Curtain tracks, wall shelves, framed art mounts |
Post-Paint Tips:
 Post-Paint Tips:
Ventilate the space well for at least 48 hours before moving in.
Do not wipe freshly painted walls for at least 7 days—let the paint cure fully.
Keep leftover paint for future touch-ups—label them by room and date.
Value-Add Tip:
Consider anti-mould paint for toilets and damp areas, especially in older resale units where moisture levels are higher due to piping and less ventilation.